PlayaLabs is 'For Burners, By Burners'. We run tests and trials on-playa. We link to honest reviews and the best prices we can find. We always link to FREE-SHIPPING!
Lab Tests
Featured


PlayaLabs is 'For Burners, By Burners'. We run tests and trials on-playa. We link to honest reviews and the best prices we can find. We always link to FREE-SHIPPING!

Add a cargo box that LOCKs, playa-proof kickstand and luggage rack to fit a 12-pack, furry coat, and water jug! Keep yo' shit safe!
This project will require a trip to your local hardware store for nuts and bolts, as every bike is different. Do this project at home before the Burn.

All of these links are returnable if something doesn’t fit, so you have protection there.
The “Traditional” kickstand will keep your bike upright in almost any windstorm. We have lab-tested the every kickstand, with or without tennis ball, double kickstand, no kickstand (you suck), and this thing works the best:

Trust us, install the kickstand first. It will be so much easier to do the rest when the bike stands up.
The luggage rack attaches over the kickstand, so you have to do the kickstand first anyways, so just take my fucking word for it, OK?
Flip the bike over and stand on its seat.

Take off the rear wheel nuts (you’ll need wrenches), but you can leave the wheel on the bike.
If you have a quick-release rear wheel, just open the quick-release and then unscrew both nuts a few times on each side of the wheel to loosen them.

If it’s a cruiser bike, you may need to loosen and/or remove the nut on the coaster brake too:

Once the nuts are off, you will mount the kickstand:
Make sure to line up the kickstand the right way: The side of the kickstand with the little lever goes on the NON-Chain-Side (rider’s left side) of the bike. Like this:
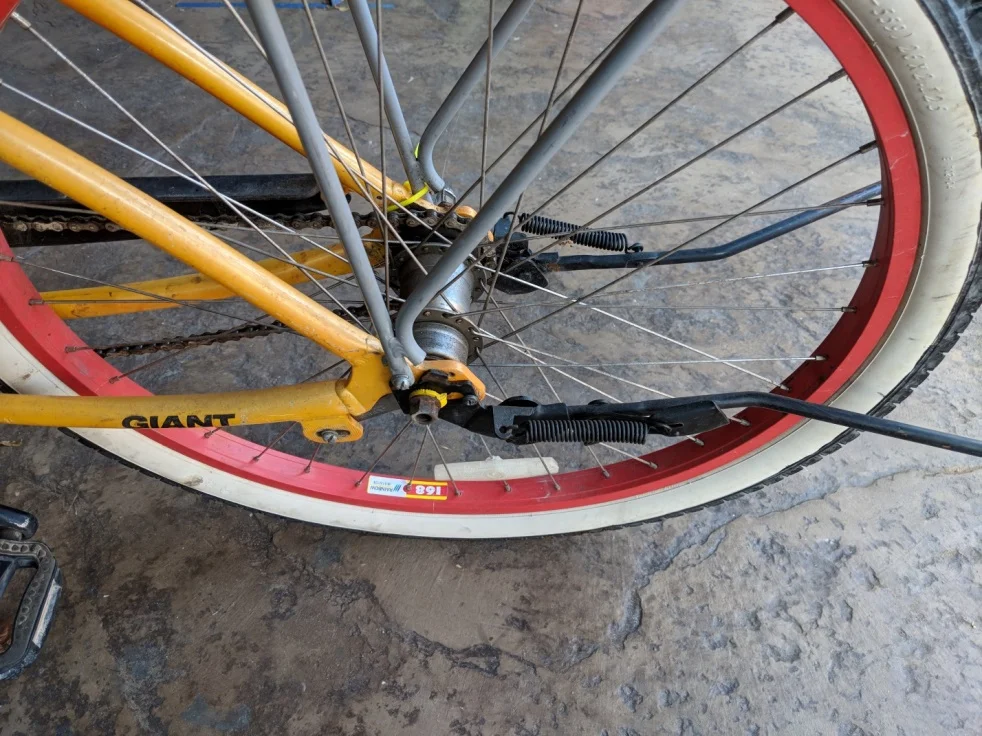
You will need some muscle to pry apart the sides of the kickstand a bit, and fit the kickstand slots over the bolts on each side of the rear wheel.
The kickstand has little metal tabs and grooves that are designed to fit around the rear fork of the bike frame. You will have to see how well it lines up w/ your bike. It is important for the tabs to fit well, so the kickstand is secure and doesn’t rotate.
Test fit the kickstand on your bike and look closely at the little tabs and screw holes.

You may have to hacksaw or file down the tabs if they don’t fit right. The kickstand we linked to has extra large metal tabs, which gives you some wiggle room.
On this bike, I had to bend apart the little tabs with a vice-grip pliers to make them fit over the rear fork. It may take some customization, but it‘s not hard. Just test fit the kickstand over your bike hub, and see how everything lines up, then make any modification to the metal tabs.
Once you have everything modified and lined up, put the lug nuts back on the rear axle and tighten it all down firm. Add another bolt if needed to secure the kickstand in place on your rear fork. I drilled another hole in the kickstand tab to line up here with an existing mounting hole in the bike frame.

Flip the bike back over and try out the kickstand. You flip down the kickstand, then rock the bike backwards a few inches to engage the stand.
Click down the little lever forward with your boot to lock it. The baby isn’t going anywhere!!
To take off, kick the little lever back, then roll the bike forward off the kickstand. This is a sturdy, hefty kickstand. You have to give it a significant push to get it up or down. But that’s the idea, right?
Locked Position:

Unlocked:


Now we add a cargo rack and a locking storage box for all your goodies!
Playalabs has tried this system with a few different racks, this product works best because it’s perfectly flat on top. Some others have a lifted back end or a groove, and that doesn’t work as well.

This short video will help with the installation:
https://www.youtube.com/watch?v=VeGR6Tdmxj8
The rack is adjustable and attaches at 4 points to your bike frame. Look at the rear axle of your bike. Make sure there is a little screw hole in the frame near the rear axle. It may not look exactly like this, but look for a screw-hole like this, on BOTH SIDES of the rear wheel. If your bike has these (most do), you’re good:

Now look below the seat (of your bike, creeper!) Look for little screw holes on the rear fork of the bike frame:

Your bike may have open holes or it may have a bolt already inserted, or it may have a little metal “Tab” with a hole it. Either way, you’re good. So you should have holes available here and here:

Test fit the rack and all your parts on your bike before tightening anything down.
If you don’t have the holes under the seat post, there is an alternative option. Buy this little seat-post collar and swap it out on your bike. The collar has 2 additional bolt-holes that you can use to attach the luggage rack. Make sure to buy the right size. Your bike seat post probably has the label etched onto it: 28.2 mm, 31.8mm are common sizes—pull the seat post up and look closely at the metal.

Go back to the luggage rack. The rack has two sliding metal “arms”. You will loosen, but not remove, the 4 bolts first to loosen the arms.

Then attach the lower legs of the rack to the rear hub/frame. It’s normal to have to pull the rack legs open a bit to get it to fit. Typically the rack legs go on the OUTSIDE of the bike frame. But do whatever works for your bike.

Here’s where you will try out the bolts that came with your rack, but you may need to go to the bike shop or hardware store for the correct size if they don’t fit.
You want bolts long enough to go thru the rack and into the bike frame all the way. But not so long that they jam into the bike chain or wheel.
You want this baby secure. If your bike has enough room to add a longer bolt and a locking nut, do it.
Now go back to the sliding metal “arms”. Extend the arms out until they reach the bolt-holes on bike frame below the seat:

It is perfectly normal that the sliding arms will not line up with your bolt holes. You are supposed to bend the arms. However, Playalabs has found that you should not bend prematurely. You want to test-fit it first and get everything close, and then do a single final bend. Bending, re-fitting, re-bending, and fitting again tends to weaken the metal.
So line everything up:
The rack should be level and centered over the back wheel.
Test fit and extend or retract the arms as needed.
Then finally bend the metal arms and tighten the bolts.
Tighten everything else down.
Now take your EMGO travel trunk. This thing is super cool, it locks closed, and you can unclip it from the bike and carry it around.
Fitting it well can be a challenge, so listen up. The box comes with a Base Plate:

Put the box on the base plate (it clicks in). Then, open the lid.
Test-fit the OPEN box on your bike rack. You want to be able to open the lid without cramming into the seat. You may have to adjust the seat height and position now too. Once you find a position that works for your seat and the cargo box on the luggage rack, trace around the base plate onto the luggage rack with a marker.
Unclip the box from the base plate. Fit the base plate back onto the rack and mark 3 or 4 holes where you will drill bolts to attach. The drill holes need to be lined up perfectly, so be careful!

The EMGO trunk comes with the bolts and hardware. But they may not fit your bike. Test fit them: you need bolts long enough to go through the base plate and the rack, but not so long that they jam into your bike tire!

Every bike is different so look before you buy:

Go to 3:10 on this video for a good summary:
https://www.youtube.com/watch?v=A2K1YUZaBQk
If the included nuts bolts don’t work, go to the hardware store again. Take the baseplate with you. Choose bolts that have a countersink head that fit into the base plate. Also buy nuts, washers, and lock washers and a few backups for fixes on-playa.

Once you have the right size bolts, attach the base plate. Use washers and nuts on the underside. Remember you are tightening metal to plastic, so don’t go nuts or you can crack the plastic.
Now, Clip the cargo box into the base plate. You are officially ballin!
The black box gets HOT on playa and your cold beer will cook. We like to take a scarf, towel, or fuzzy cloth and decorate the top of the box to keep it cold and camouflage. Here you can get creative. Use gorilla glue, zip ties, bungees or creative knots to decorate your cargo box.

You can also LOCK the box! Get a few spare keys while you’re at the hardware store and leave one at camp and hide one in your car. You will lose your key on playa!
You will undoubtedly use this rig for some major playa-hauling. The only downfall is that your lazy camp mates will ask for “Just one more beer?” and your bike may be top heavy when it’s parked with a bunch of crap in the back. Use the industrial kickstand and you will be in good shape.
A note for our “less tall” Burners, make sure you will be able to kick your leg over the crate to mount and dismount your bike. Or consider getting a step-through or “girl” model bike with a lower frame tube.
See our parts page for inexpensive links to bike essentials (#Ads ↓).
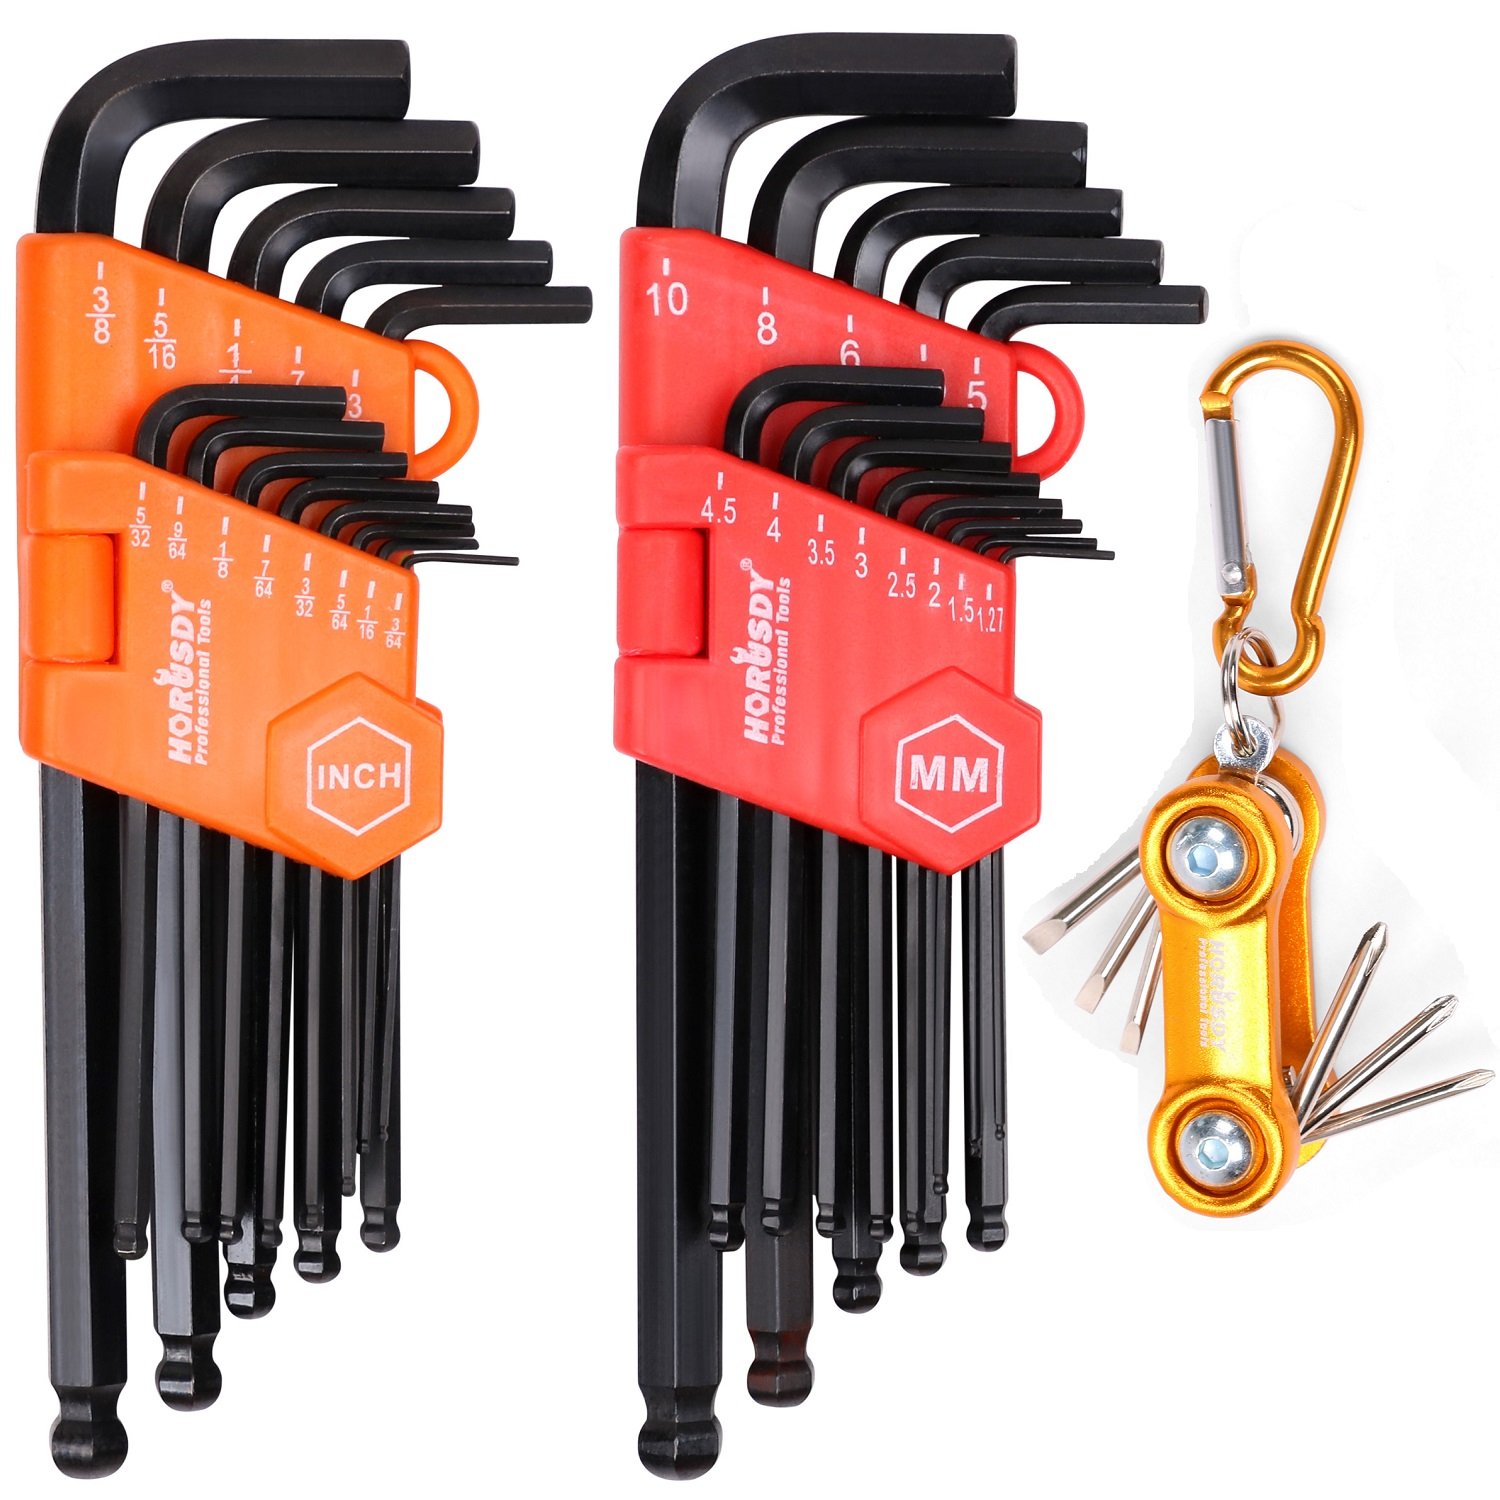

Little allen keys and tools will make you a hero. Bring em.
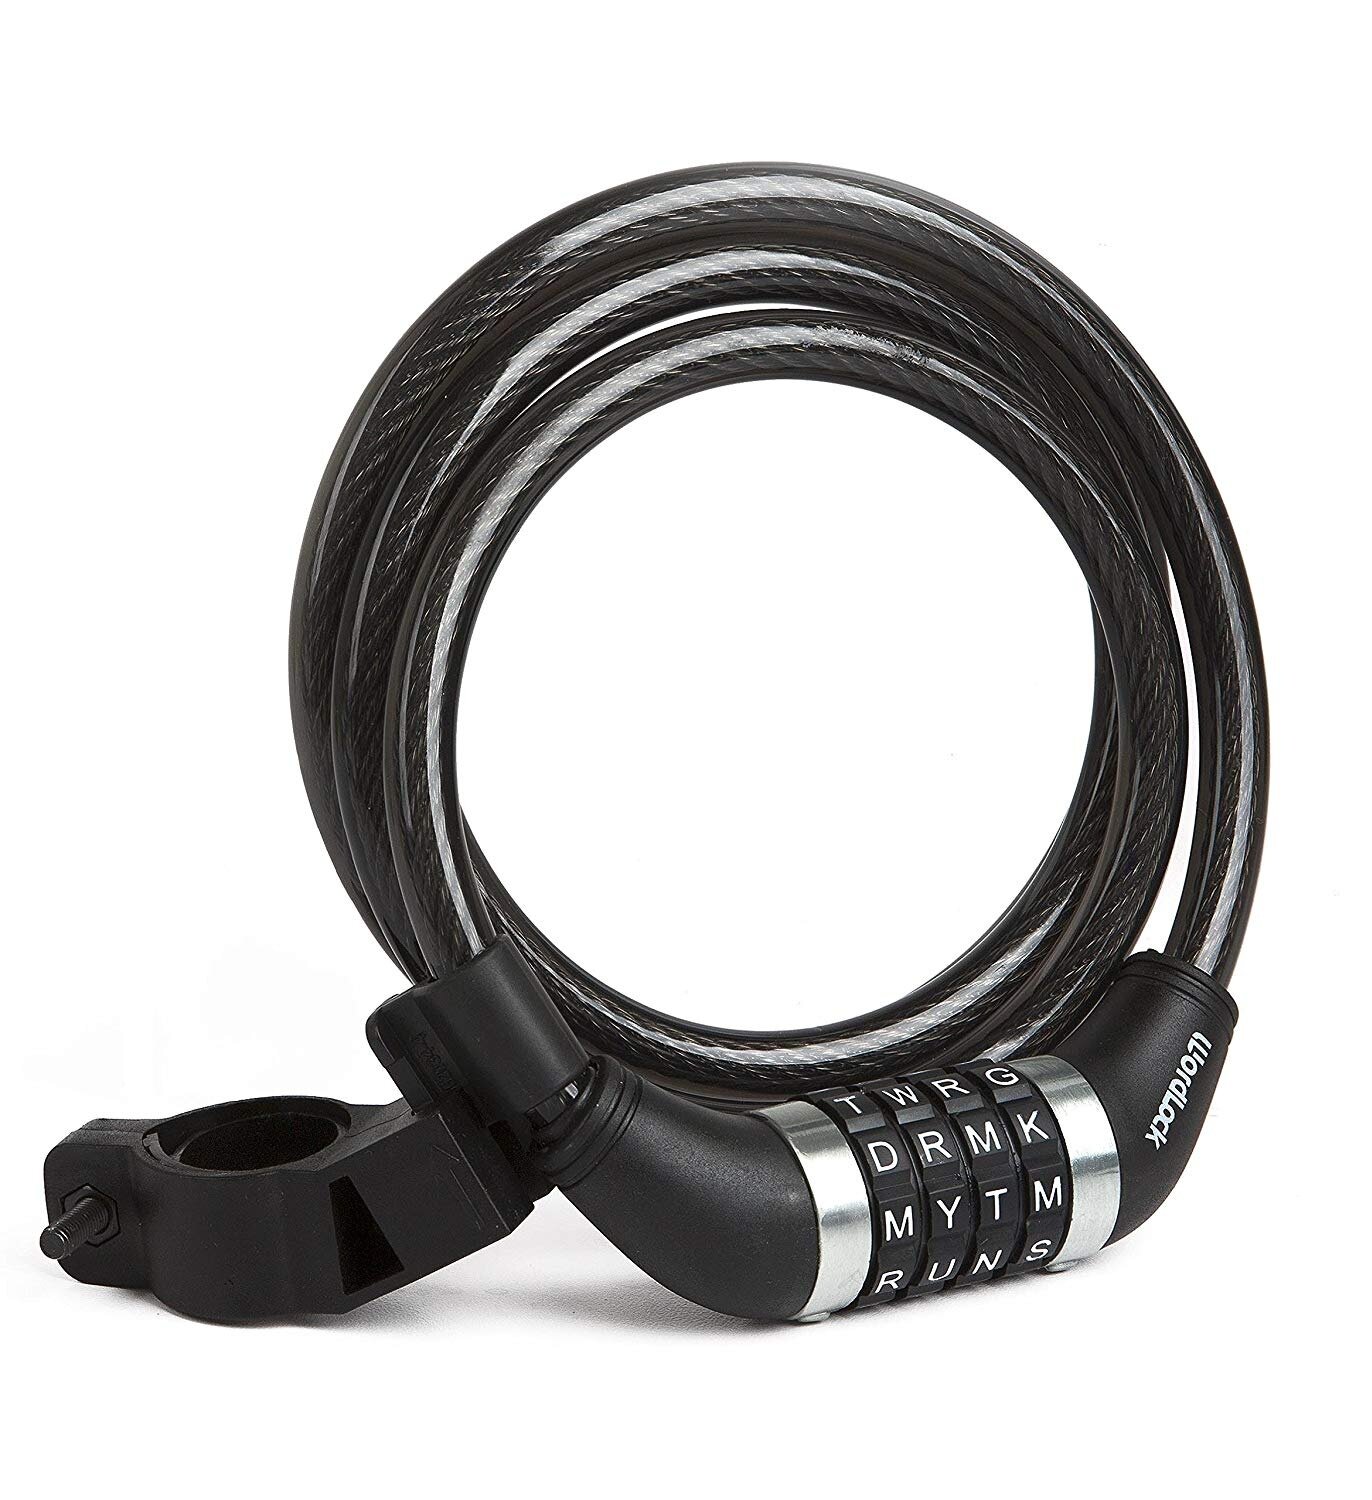
A combo lock is great because you can’t lose the key. A word-lock is way easier to remember and scream it around camp.
Lube goes a long way. A looooooooooooooooooooong way. Get some.

Reviews of pitched-tents!
A winner with Playa-ready features